January 24, 2013

Honey Almond Oats


In attempt to eat healthier I created this easy oatmeal. 
It's just slightly sweet but has a lot of good flavor!


You will need:

1 cup rolled oats
1 1/2 cups almond milk
1 tablespoon honey
1/2 teaspoon vanilla


Simply put all ingredients in a pan and cook over medium heat for about 8 minutes, stirring regularly.


Sometimes I put all the ingredients in a pot the night before, stick it in the fridge and then in the morning all I have to do is heat it. You might need to add a little more almond milk in the morning if you do this because the oats will soak up the liquid over night as it sits.

[ makes 2 servings ]

January 18, 2013

Ande's Sleeveless Hoodie


Anders Had an old sweatshirt that he never wore so he wanted me to do something with it. He saw a friend wearing a sleeveless zip-up and decided that was it! So this project is all his idea, I just executed it.


First, you need a sweatshirt that you don't mind cutting up.


Find the middle of the bottom of the sweatshirt and pin a straight line up to the center of the top. Cut through the front of the hoodie on this line.


I purchased a 24 inch separating zipper because the length of the hoodie was 24.5 inches. Pin the wrong side of one half of the zipper to the right side of the hoodie, leaving some extra sweatshirt hang over the edge to have a larger seam. Sew down the zipper with the edge of the foot right next to the metal on the zipper.


Do the same on the other side of the sweatshirt. Wrong side of the zipper to the right side of the sweatshirt.


After you have sewn on both sides of the zipper, fold the zipper open so the raw edge of the sweatshirt is underneath. Topstitch down the entire length of the zipper.


Depending on how the hood was sewn into the sweatshirt, you may have had to snip it a little bit, leaving some raw edges. Topstitch over these and trim them a little if necessary. Also, the top edge of the zipper may be scratchy or stick out funny, if so, you can fold it underneath and sew a few little lines over it to tack it down.


Cut off the sleeves right outside the seam, leaving a more finished looking edge.


This final step is optional. If you don't like the width of your hoodie, you can simply turn it inside out and sew a seam down each side, then trim off the excess. 


January 11, 2013

baby photoshoot : Isabel

I was able to photograph my cousin-in-law's sweet little girl over break.
Here's just a few of my favorites.


January 8, 2013

The Sweater Skirt

Hooray for my first project! 


Let me introduce you to the simplicity of turning a sweater into a skirt. 
It's only 10 easy steps!


Step 1: Turn your sweater inside out and cut off the arms and neck.


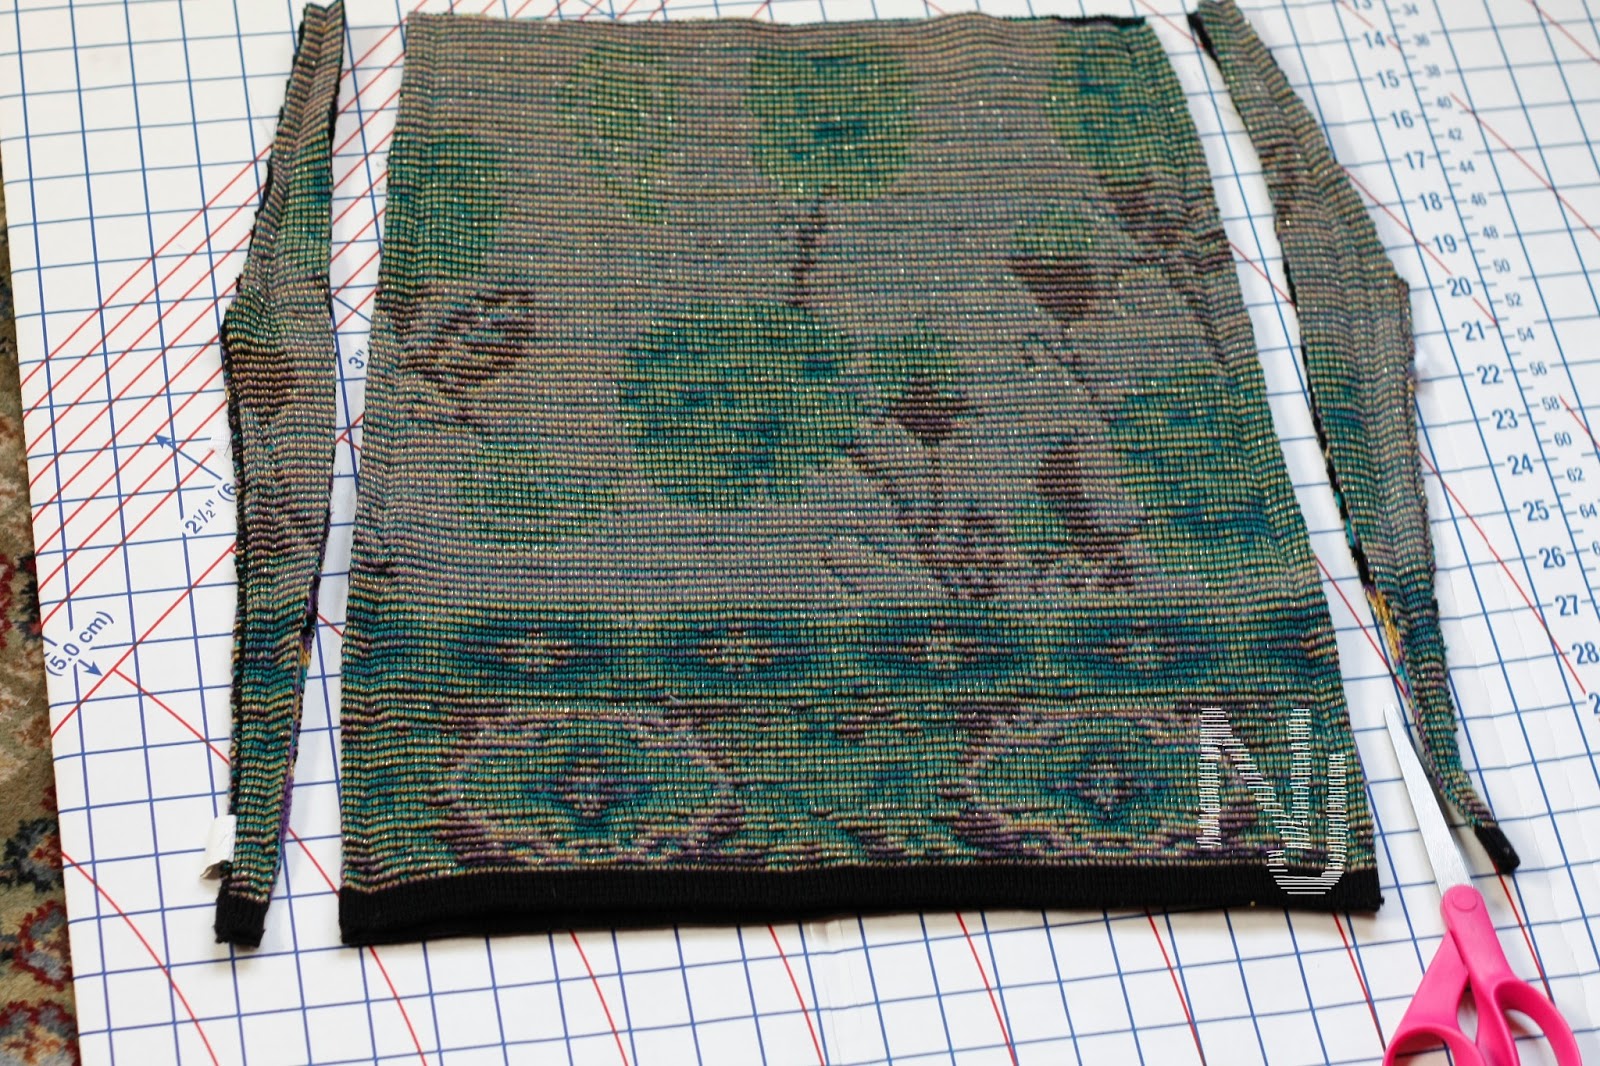
Step 2: Measure your waist, divide that in half, center the measurement on the top of your sweater and mark it using pins. Sew a gradual angled seam up each side of the sweater so that the opening comes out to your waist measurement. Tip: start at the bottom of the sweater on each side to make sure the edges line up.


Step 3: Cut off the excess on each side.


Step 4: Cut a pice of cotton knit 6 inches wide and long enough to tightly stretch around your waist. Cut it so that when you pull on each end it is the stretchy way.


Step 5: With right sides together, sew the ends together. Test and make sure this is tight enough to be a waistband by pulling it onto your waist. If not, sew another seam to make it a little smaller until it's tight enough.


Step 6: Press this seam open.


Step 7: Fold waist band in half, with the seam on the inside, and press all the way around.


Step 8: Pin the raw edge of the sweater to the raw edge of your waistband. Both items are stretchy so it is pretty easy to pin them together evenly.


Step 9: Sew the skirt and waistband together. Make sure you are slightly pulling the fabrics so there is room for it to stretch later and to avoid any tucks.


Step 10: Once you have sewn on the waistband, top stitch on each side of the seam. Make sure you open your seam underneath which allows you to sew down the bulky fabric. 

Once you have finished this step...


...wear your skirt!

January 7, 2013

new beginnings

Well. Here I go again.
I tried this whole blogging thing before, and it was fun, buuut, it didn't work quite like I thought it would. After some technical difficulties I finally decided to put my .com on hold and go with this .blogspot for now.
My hope is to use this space as an outlet for my creativity. I don't have too much time these days to do projects, however, I'm learning to manage my time better and hopefully I can keep up steady posts this coming semester.
To kick off the year (and this new blog), enjoy this little video I put together of a small snapshot of our 2012.